A great way to help children strengthen their fine motor muscles is to provide activities that involve folding, sculpting, and manipulating clay and dough. Here’s an easy homemade recipe that you can use!
Caution: This activity should be supervised closely. Only an adult should use the stove and oven. Allow the dough to cool thoroughly before allowing the children to manipulate it.
This recipe is for two to three children. Heating times may vary.
What You’ll Need: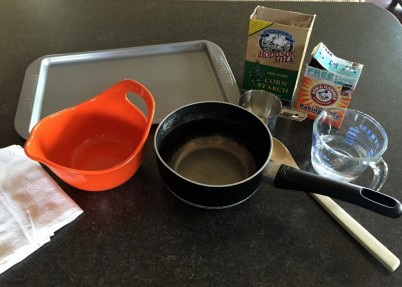
- 1 cup cornstarch
- 2 cups baking soda
- 1¼ cups cold water
- stove and oven
- saucepan
- bowl
- wooden spoon
- oven mitts
- damp towel
- baking sheet
- cookie cutters (optional)
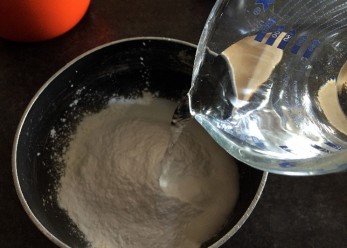
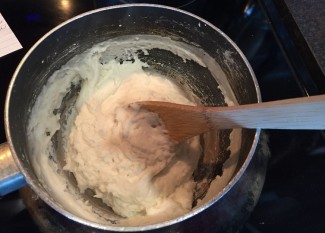
Step 1: Add 1 cup cornstarch, 2 cups baking soda, and 1¼ cups cold water to a saucepan, and stir until smooth.
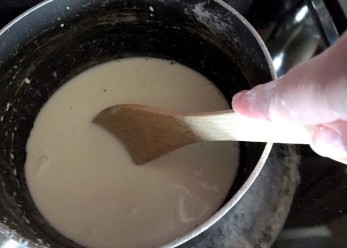
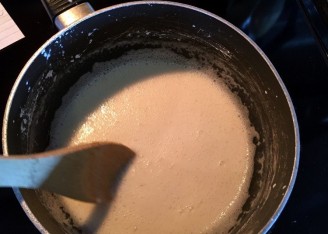
Step 2: Place the saucepan on the stove and cook over low to medium heat, stirring constantly. (Note: This step takes about 6 to 8 minutes, depending on your stove. I stirred for awhile and thought maybe I had added too much water, but it finally started thickening.) The mixture will begin to thicken and resemble mashed potatoes.
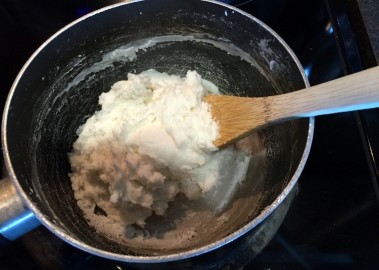
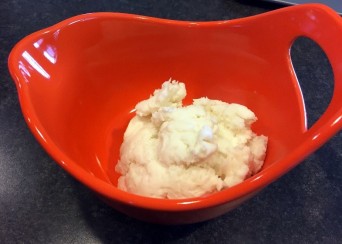
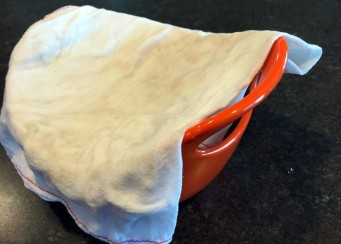
Step 3: Remove the saucepan from heat and scrape the dough into a bowl. Cover the dish with a damp towel and let sit until cool (about 30 minutes).
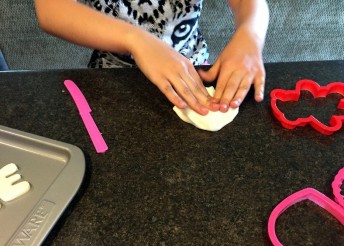
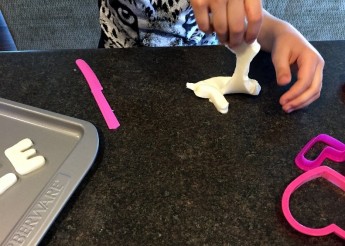
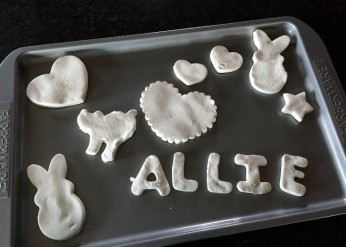
Step 4: Remove the dough and divide it among the children. Allow them to manipulate the dough freely. You can offer cookie cutters to cut shapes from the dough if desired. To create hanging decorations, poke a hole in each dough creation with a toothpick before baking. During this step, preheat the oven to 350° F.
Step 5: Turn off the oven. Place the dough creations on a baking sheet and place in the oven for about 1 hour. Flip creations over if necessary, and let sit in oven for at least another hour or until completely hardened. (Depending on the thickness of the dough, this may take a few hours. If necessary, remove the baking sheet, reheat the oven to 350° F again, and repeat the process until the dough is completely dry.) The creations are now ready to paint!

Note: This clay can also harden by air-drying, but this process takes much longer. Prepare to let the creations dry for at least a couple of days.
Back to blog listing