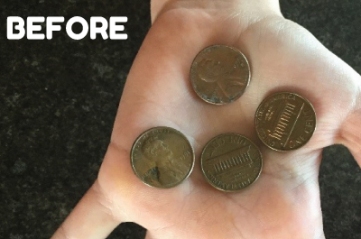
“Find a penny, pick it up. All day long you’ll have good luck!” Preschoolers are attracted to bright shiny pennies, but over time, they lose that polished look. Invite the children to help you create a magic solution to make tarnished pennies look new again!
Caution: Supervise this activity closely to prevent children from placing coins in their mouths.
Provider note: Pennies created before 1982 were composed mostly of copper. After 1982, they were made with mostly zinc. However, even new pennies are coated with copper, so this activity should work with pennies from any year.
What You’ll Need: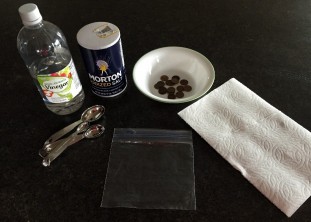
- 2 T. vinegar
- 1 tsp. salt
- tarnished, dull pennies
- measuring spoons
- zippered plastic bag
- napkin
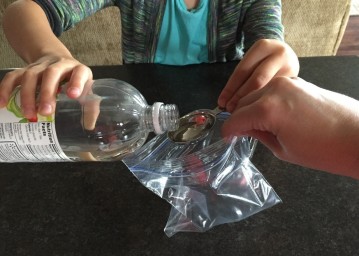
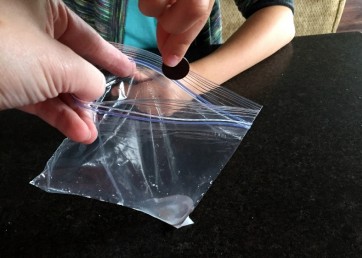
Step 1: Measure 2 T. of vinegar and pour it into a zippered plastic bag.
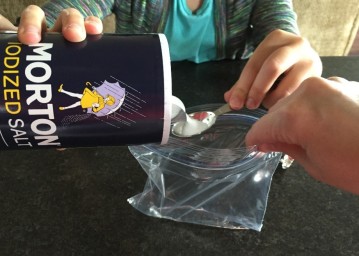
Step 2: Measure 1 tsp. of salt and pour that into the bag with the vinegar.
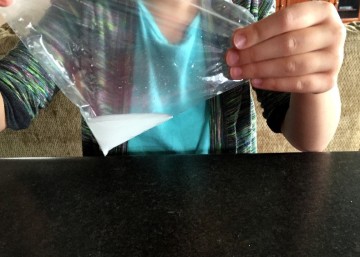
Step 3: Seal the bag and shake the mixture until the salt has dissolved. Open the bag, and choose three or four tarnished pennies to toss inside. Reseal the bag and shake vigorously for about 15 seconds.
Step 4: Open the bag and remove the pennies. Rinse them really well under running water, and wipe with a paper towel.
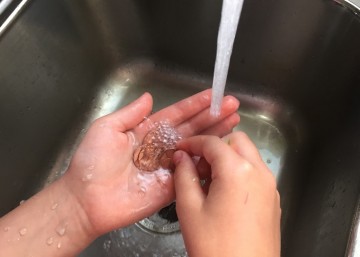
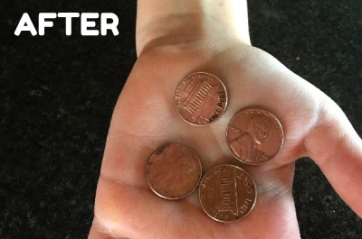
They should now have a shiny appearance again!
So How Did It Work?
Talk with the children about what happened to the pennies. Explain that pennies contain the metal copper. As time goes on, a substance called copper oxide forms on the pennies, making them appear dirty.
When the vinegar and salt are mixed together, a special acid is created, called hydrochloric acid. When the copper is exposed to the hydrochloric acid, a chemical reaction takes place. After the pennies have been added to the solution, the hydrochloric acid dissolves the copper oxide that has formed on the outside of each penny.
Expand the activity by challenging children to toss other types of coins into the salt/vinegar solution. Does anything happen?
Back to blog listing